Today I'm reviewing and demonstrating the watercolour graphite that comes in a tin, called "Art Graf". Above on the left you will see a speed drawing video of myself using the material with a brush and then on the right the finished drawing.
One thing to note for anyone who hasn't tried this material yet - I found it easier to first put a few drops of water in the lid of the tin first and then dab the brush into the solid graphite before painting with it. Only reason being that if you put any water directly on the solid graphite cake in the tin then it just soaks away very fast. It's a fun way to add graphite in a fluid way to a drawing/painting but if you want to erase areas of this watercolour graphite then you may be frustrated as it doesn't erase very well. I just painted over the problem areas using watercolour paint and it solved my issues right away. It is lovely and fluid when you paint it on but it dries fast which is a little frustrating as you can never get the perfect consistency because it always dries up after a few strokes. I do enjoy how it can be layered onto a surface and then possibly scraped off with sandpaper (very fine sandpaper though). I'm still not very sure how to use it so I think this is very much something I'll have to experiment with and then return to in a later post once I've worked out how it will work best for me. It is far more fun than pencils but with less control! All in all, I think it's well worth it as a great drawing tool and painting tool for artists and I will plan to repost in the future after I've had some more time to play with it. In the meantime, do have a look at my speed drawing video and let me know what your thoughts are especially if you have experience using this material as I'd be very curious to know other's opinions on the topic. To buy your own Art Graf please click on this sentence to purchase it from Amazon. *If you would like hear more materials reviews and watch more speed video's and demonstrations then do check back every Monday 9am UK time for regular material review posts. Lack of motivation can hit at any time in a creative process.....for me it's usually when I've got a deadline to complete a project which is the worst time. So in an effort to get myself back on track I have a few techniques I try which do always seem to work if I'm patient with myself.
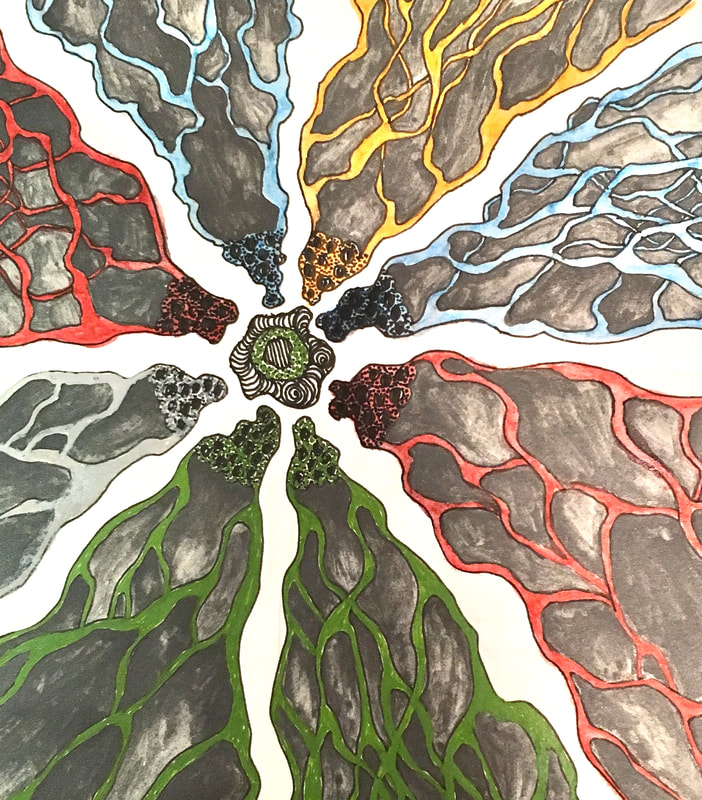
Firstly, I allow myself to make a mess no matter what my ultimate objective is. The goal here is to let the mess happen without restricting myself to using the materials for whatever it is that I'm avoiding working on. I find that if I allow myself to just play then the images and the ability I'm blocking will return but gently and without me pushing myself. If however that fails and frustration occurs......(example: noisy flatmates who make so much noise that it's impossible to focus even in another room) then I plug myself into music or anything that helps me concentrate and block out the distractions. Creating speed videos of making a mess with no ultimate outcome is always quite cathartic somehow as I do enjoy watching to see how images emerge out of a mess and then this itself gets me motivated to try again, this time usually with an idea in mind which means I'm on the right track to getting myself really motivated! Lastly, rewards help.....I make a list of the most simple tasks and take absolute delight in ticking them off once I complete them and a reward always helps too so if I have something in mind as something I can really enjoy if I accomplish all the tasks on my list then I have motivation to keep going. What often happens is that I get so caught up in finishing the tasks that I can become caught up in the creative process and end up going back to it even after my reward which is a bonus! My favourite material in which to make a mess is ink.....in bottles and all vibrant. If I just start dropping dollops of brightly coloured ink onto a wet or dry surface and moving it around with the ends of paint brushes and then going back to dab and then draw into it.....I can make a serious mess but eventually it'll become something and this something is the spark to keep going. The video you see above is my attempt to motivate myself today.....you can see it started out as unrelated marks and nothing more and then eventually became an old tree! But now, I had so much fun that I want to try again and I'm brimming with ideas and my elusive motivation has returned! *I'd love to know what other artists do to recharge their motivation and what techniques they employ to get it going again.....I do hope someone feels like commenting as I'm very curious! **If you'd like to keep following Materials posts then please stay tuned every Monday at 9am UK time for more.
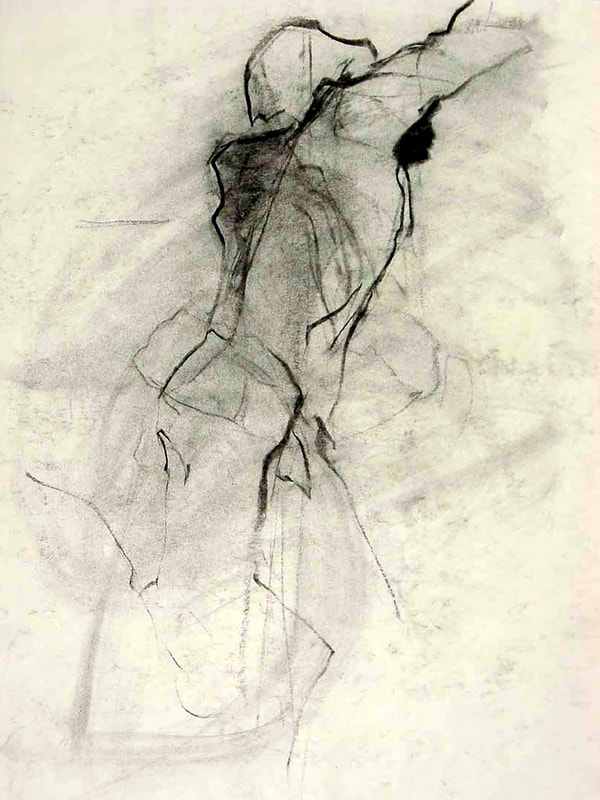
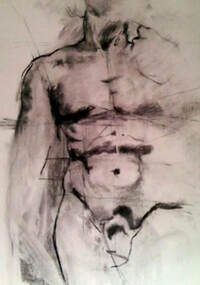
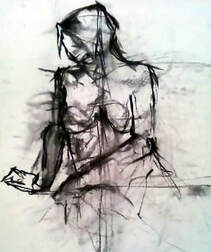
There are the best drawing materials for pencil drawings and then there are the best drawing materials for using charcoal and today I shall be sharing with you the best combination of charcoal drawing materials in my expert opinion. The above images are from my own life drawing portfolio and the effects made by the combination of materials. For me the deliciousness of a well worked drawing in charcoal comes from the wonderful marks of all the previous attempts on that same paper that came before it. To be able to dirty up your paper with your first attempts give the foundation to the perfect drawing surface. So in a sense, those early drawing failures are what you are hoping for so you can wipe them out and create that wonderful textured surface.
To achieve this technique I found my perfect combination of materials quite early on in my career. For me the smooth tooth of the Strathmore 400 series paper with its creamy off white colour was the perfect paper if combined with Soft Vine Charcoal, a Gum Eraser and of course a Chamois. And not the tiny bit of Chamois you buy from over priced art supply shops either, but the big piece of Chamois you buy from car detail shops! The soft vine charcoal doesn't behave on the surface of the paper like compressed charcoal because its light and will dust off fairly easily without leaving heavy difficult marks. This is important, in my opinion, to help create that delicious surface. Adding compressed charcoals later down the line of a well worked drawing is perfectly fine but early on its best to stick to the soft vine charcoal. I texture the surface of my paper with quick gestural sketches and wipe out each time the model moves so for life drawing, it helps to warm you up with quick one minute or less poses. Many other artists have said to me to just cover the whole paper in charcoal and then wipe it out for that perfect surface but I think it's more helpful to use first mark making sessions to actually exercise the drawing skill while also loosening up before a long pose. In my experience, creating the texture before a longer pose, gets the artist inspired for digging deeper into a longer pose. The blacker the chamois becomes the better too as this can help drawings further down the line with more interesting textures and marks to be made with differing shades of grey and black. And it's good therapy to dislodge some of the charcoal dust from your chamois by hitting it on a chair leg or something somewhere where you don't mind the dust flying. Just remember not to breathe in the direction of the dust! If you try this and do inhale the dust, then please don't come back to tell me off as we all are responsible for our own actions in this world. I had a friend who thought it best to vacuum up the extra dust on a chamois and ended up sucking the chamois up which then clogged her vacuum and had to be cut out. Very tragic end for that chamois! Using specifically the Gum Eraser with this combination of materials is best if used to bring in light into your drawing rather than as an eraser because its the chamois that erases and textures your work. I love getting the drawing to the point where you have built up the perfect layers of texture but can still see the creaminess of the paper showing through and then can work into the drawing with darker marks and pulling in highlights using the eraser. It gives a sculptural feel to your work that is unlike anything else! On the side of this blog post, you'll see where I've put a little brown box linking you to the exact materials I use which you can buy as I do, from Amazon. Do check it out if you're in the midst of trying out new materials or building a kit of your own. I have included two sizes of the Strathmore 400 series because I use both sizes, obviously preferring the larger size because it gives you more freedom to move. If you have enjoyed this materials post and technique description and are inspired to join in then please consider two ideas: 1. I teach in London using this technique so please get in touch if you'd like lessons. 2. If you are not in London but would still like lessons, then consider contacting me for online (FaceTime/WhatsApp or Skype) lessons. My teaching rates are £40 per hour & must be paid at the time of booking. *Mention this blog post and I'll offer your first & third lessons at 40% off. For all teaching inquiries please email me at: toothpickmoon@gmail.com *Stay tuned for more materials reviews every Monday 9am UK time. 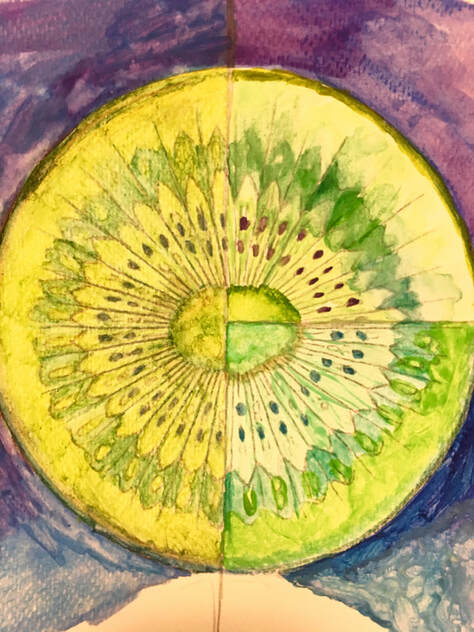
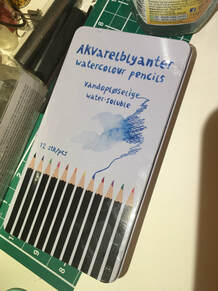
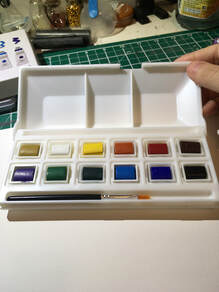
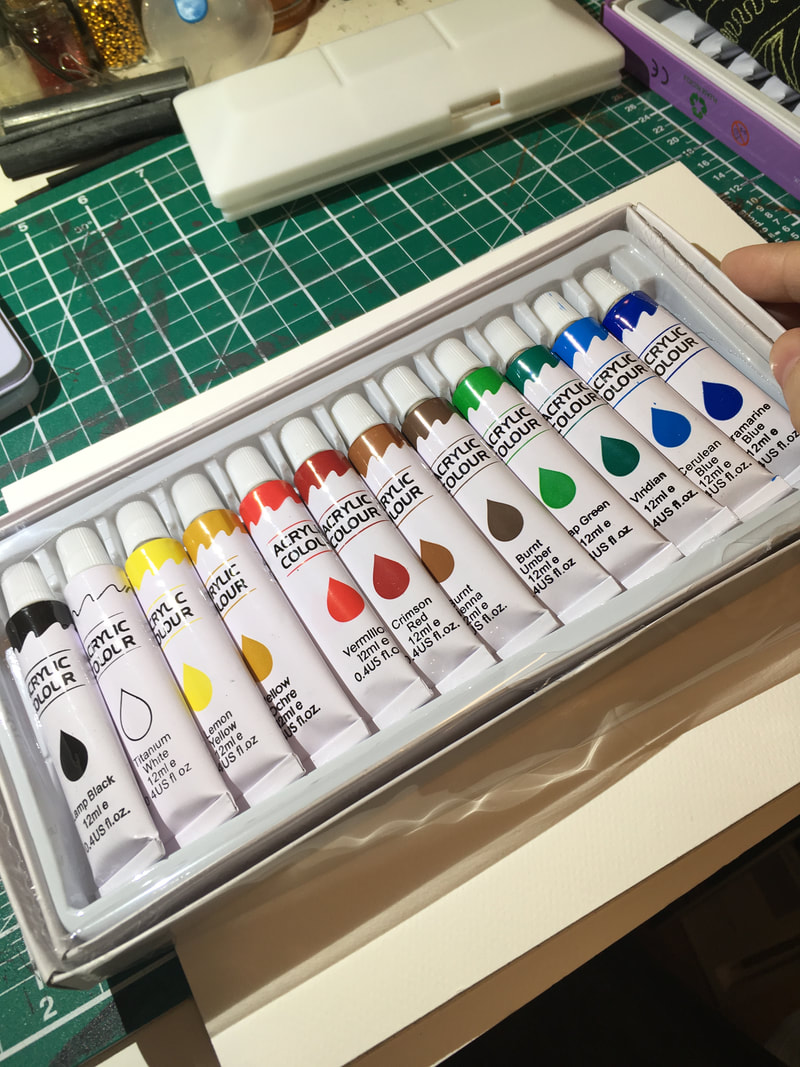
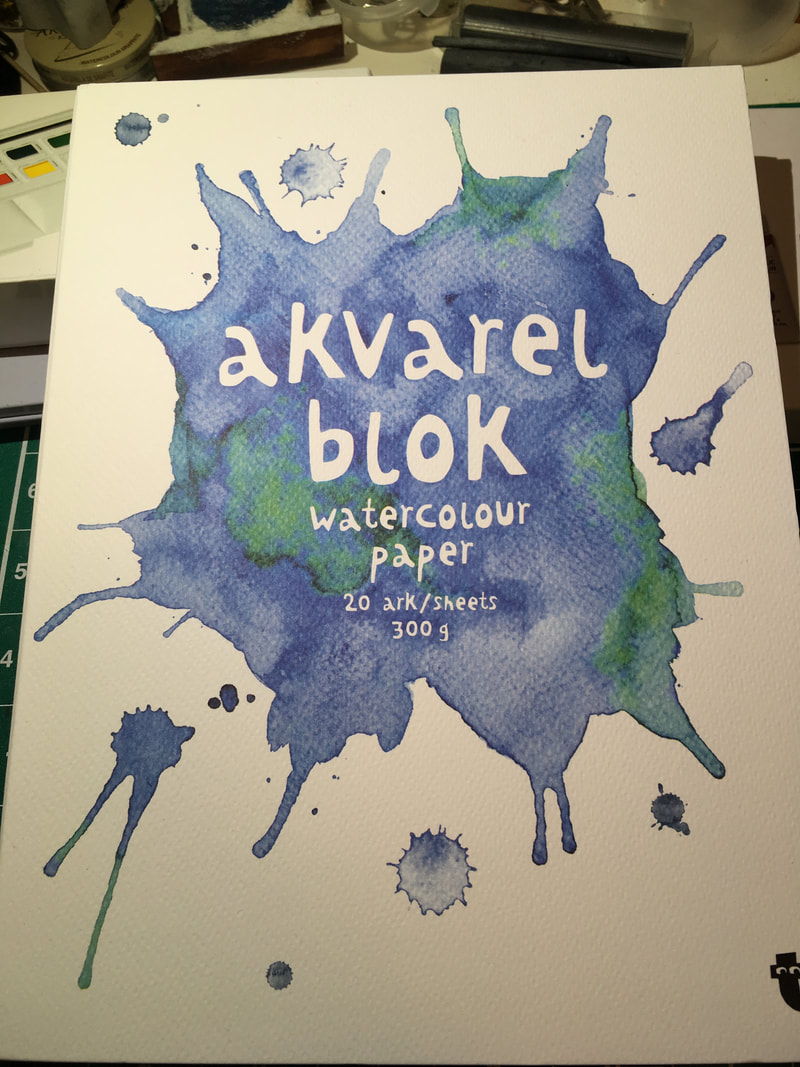
As an artist and teacher, I've often been asked by my students if they can use very cheap art materials instead of better quality materials from specialised art supply shops. So in response to this common query, I purchased watercolour pencils, a set of watercolour paints and a set of watercolour tube paints and watercolour paper in order to see how they performed. I went to a very cheap shop here in London, called, Flying Tiger and spent around and under £3 for each item.
I began with the watercolour pencils and I was immediately irritated as all the leads were broken and no matter what method I used to sharpen the pencils, the material they have used to make the pigment just crumbles away. So I used broken bits of the pencils to create the left side of the kiwi I chose to paint. The watercolour paper itself was strong but did buckle after adding some water. The surface of the paper is shiny which isn't very helpful when applying pigment and water so unfortunately the moment I added water to my watercolour pencil drawing, the pigment mostly washed away. So I then used the top right section of the kiwi to try the set of watercolour paints which immediately generated more irritation the moment I added water to the paint cakes. The colour of the paint is utterly different to what it is once water is added so no matter how much you scrub the brush over the cake, you still have a very watery, slightly pigmented version of what the paint cake represents. The set does come with a small brush which was useless as the hairs all fell out so I used one of my own brushes instead. I then tried the tubes of watercolour paint which had to be punctured by the reverse side of the lid in order to extract the paint. Some membranes didn't break at all no matter how hard I pushed to get the paint out. The paint I was able to use wasn't true to the colours stated on the tubes and then the result on paper was even more disappointing. So I would say if you're wanting to use cheap art materials then you will not produce great artwork and the creative process which is an enjoyable part of making art, will be peppered with frustration at the inferior products. For just a few pounds more, far better materials can be purchased at art supply shops which will make a huge difference in the long run! So to anyone purchasing art materials from Flying Tiger, I'd suggest only purchasing for casual gifts for people you don't admire or as objects to use in a still life. I plan to leave the materials I purchased out for the neighbourhood kids to play with. I do love going to Flying Tiger as its a fun shop with other items of greater quality than their art supplies! *To see more art materials reviews please follow this blog for new posts every Monday.
Welcome to my new addition to my website where I hope to review materials, artists and exhibitions locally and worldwide!
Commencing my first post, I'd like to share with you my recent love of a collection of drawing materials which I feel are the magic combination when drawing in pencil, or at least for me! Over the years, I've gone through many combinations of materials trying to find the perfect match to achieve the best results in my work. I've found several combinations for different types of drawings but lately, I've fallen in love with specifically Strathmore 400 series paper combined with Faber-Castell 4B pencils and a selection of Stumps - not the rolled Tortillions, but the actual compressed paper pointed stump that really helps to create super delicious drawings. I have experimented with all kinds of pencils but the best for me is Faber-Castell 4B because it just has the best consistency and the lead is soft but strong enough to survive multiple sharpenings. The paper is key, it has to be smooth and preferably off white as it just adds to the textures and tones in a pencil drawing. Stumps are so nice to use as you can sharpen them with a blade and they are far superior to the rolled Tortillion in my opinion. They offer a greater control over tone which I really like. Best places at least in London to buy these materials is Cass Art. The only place I can find the paper is on Amazon for some reason. It's cheaper too but I wish it was easier to buy than having to wait on a delivery! I've have a lot of messages from beginner artists wanting to know what I draw with so I hope this has helped in some way. The links I've added go straight to the materials on the Cass Art website as well as Amazon, so you can see easily how to get these materials for yourself. *Please stay tuned every Monday for reviews on art materials, Exhibition reviews on Thursdays and Artist Interviews on Fridays. |
AuthorMy name is Franceska McCullough and I'm the owner and artist of Toothpickmoon. Here I will share my studio practice in all it's forms. *Disclosure: The links I'm using on this blog will only ever relate to the products I myself use in my own practice.

Categories
All
Archives
April 2020
|